
This post details my bikepacking set up, I don’t profess to be an expert and the great thing about bikepacking is there is really no right or wrong way of doing it. So all the kit you see here is what works for me, not necessarily the lightest or the best, but it allows me to either sleep on the ground or use my hammock, either in the open or with a tarp over me so all bases are covered.
The only thing that changes is the amount of food I’m carrying and the clothes I take, so it’s all dependant on weather or hunger!
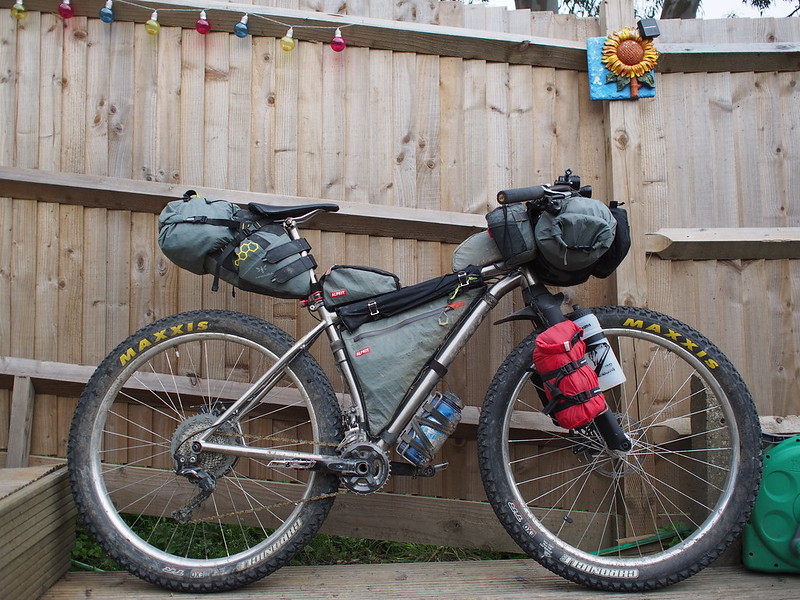
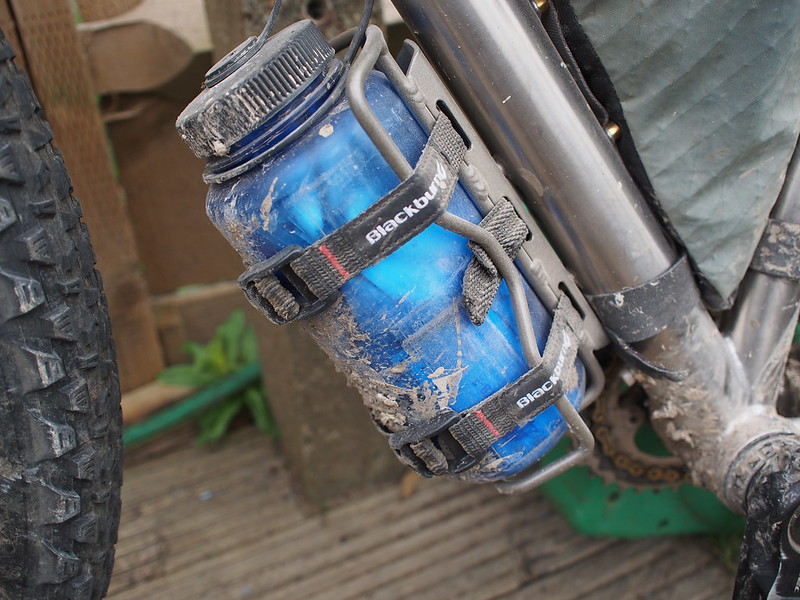
The right hand fork leg carries one bottle of water and the dry bag has the bivvy bag, tarp and all the pegs and cord needed to secure the tarp if using the hammock.
The bag one the side of the top tube hold my Bearbones Carbon tarp poles for if I’m using the bivvy bag and need the tarp because of bad weather.
The top tube bag nearest the seatpost holds food and the right hand stem bag holds food.
The left hand fork leg carries one bottle of water and the dry bag has my Jetboil and one spare gas canister.
The left hand stem bag holds my camera.
The top compartment of my frame bag holds my pump and food, the bottom compartment holds spare tube, chain oil, head torch, wet wipes and a bin bag. It would also have the water filter if I was going somewhere where I would need to take water from streams or rivers.
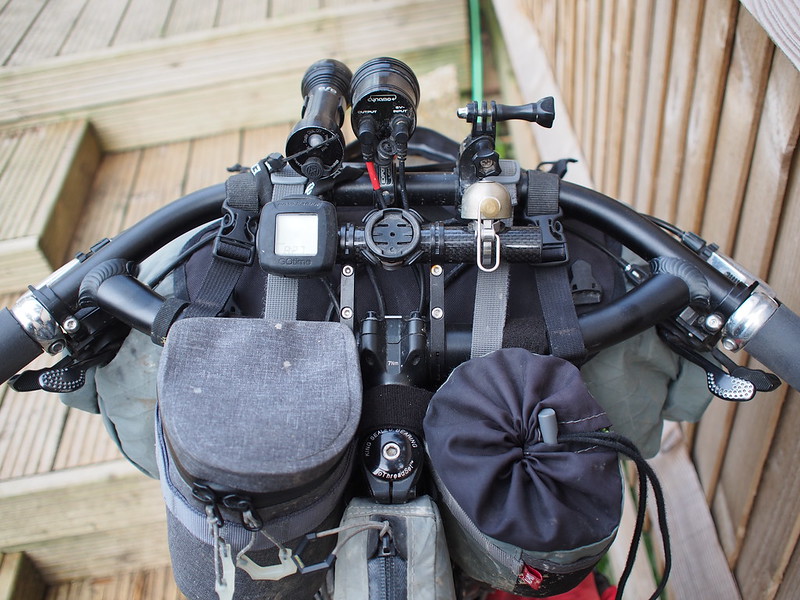
All the electronics are in the top tube bag nearest the stem, my switch box, the B&M E-werk USB charger and the leads necessary to charge phone, camera, GPS, light.
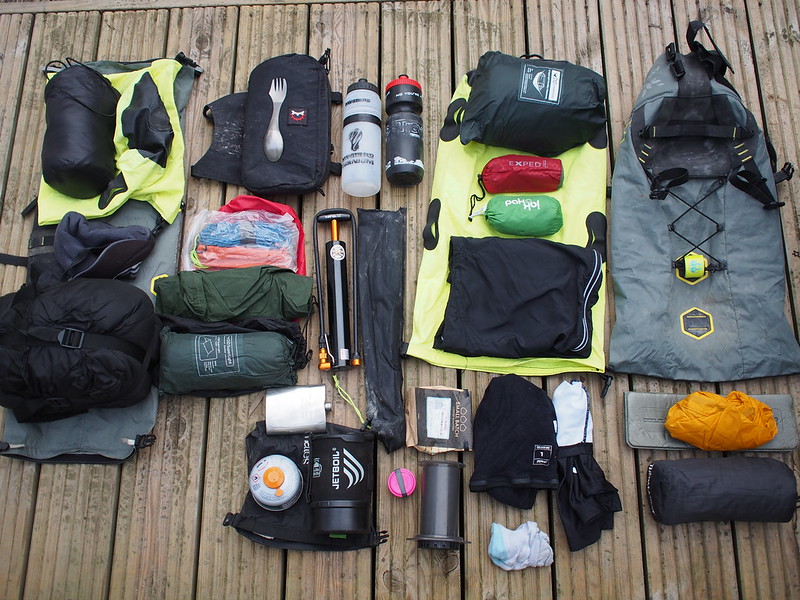
Apidura handlebar bag: Alpkit dry bag, containing: compression bag with Alpkit pipedream 400 sleeping bag, Alpkit quilt for the underneath of the hammock, down jacket, woolly hat.
Revelate handlebar bag: Spork, knife, Happy bottom bum butter, mini tripod. Exped drybag containing: iPod, headphones, cache battery.
Apidura seat pack: Alpkit dry bag, containing: D&D hammock, Exped pillow, Endura pack a jack, Endura gilet, arm warmers, leg warmers, spare socks. Mat to sit on, Thermarest mattress and inflator bag, final luxury: Aeropress and small batch coffee!
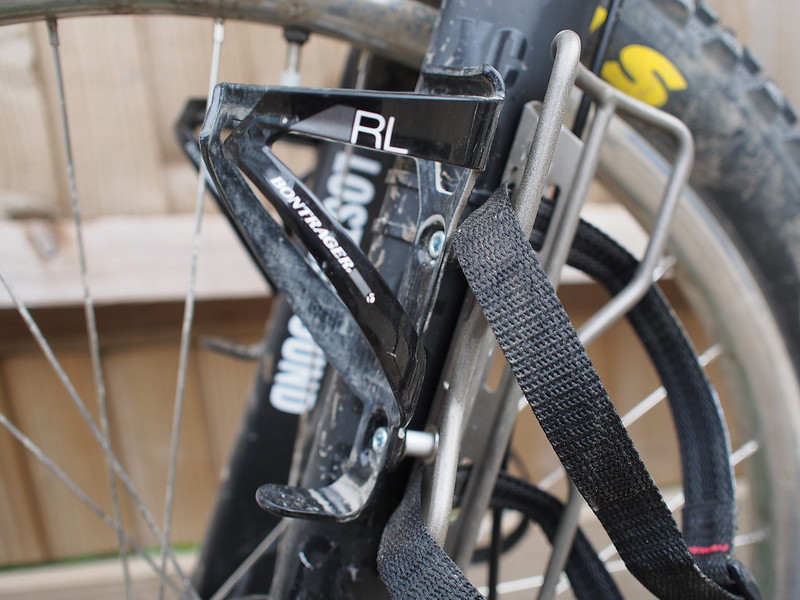
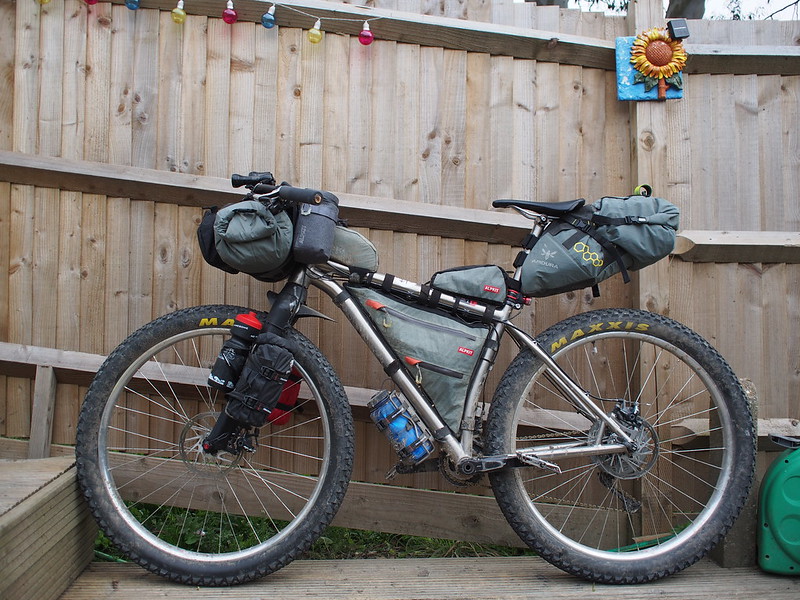
I saw this on Instagram, I’m afraid I can’t credit the originator as despite looking I can’t find the picture, so it’s not my idea but I decided to do away with the Gorilla cages I had before and go for the more secure Blackburn cages. I drilled an extra third hole into the fork mounted ones for mounting and then modified the sides with some spacers to fit additional bottle cages.
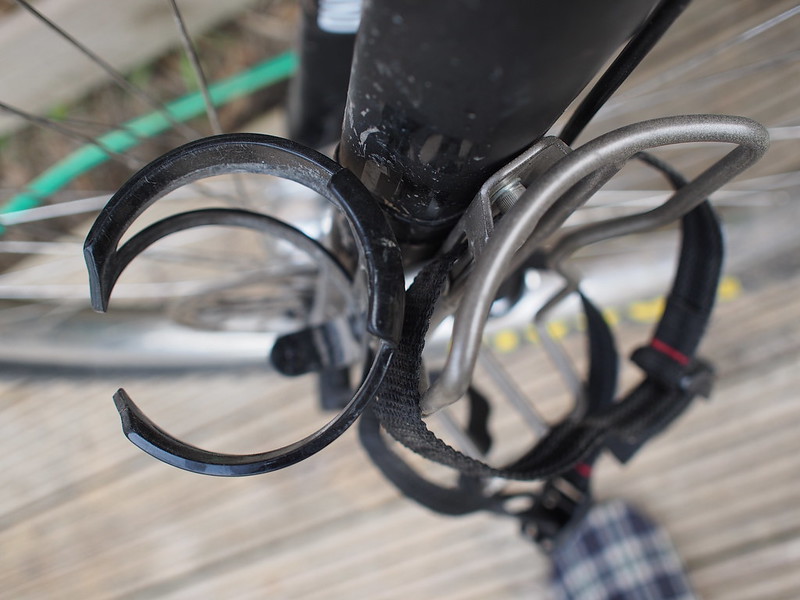
They’ve survived 100 miles of a recent rough bikepacking trip and seem to work well.

My toolkit is strapped under the downtube, I still take all the stuff I took on the Tour Divide, you can see the full toolkit breakdown here.
Great rundown of your kit, and live the decent photos.
Thank you Andy
Informative and inspiring. All I need is to get going…..
Come on JP, let’s get out there for a bivvy……
FYI: The Tour Divide and setup links don’t make it to the articles.
Enjoyed the write up on your setup. I’m very intrigued with the fork cage modification!! Great idea!
Fixed the links, thanks for the heads up